Travis CI is a CI/CD (Continuous Integration and Deployment) tool that helps development teams release code rapidly and automate the build, test, and deployment of their applications. Using Travis CI, engineers can automate their entire testing suite for new commits, reducing the potential for human error.
An everyday use case for Travis CI is building and testing your application whenever code changes are submitted. To take full advantage of TestRail and manage all your test cases and test results, both manual and automated, you can send your automated test results directly from Travis CI to TestRail. This article will explore how to easily use Travis CI and the TestRail CLI to accomplish this task.
Please note that the TestRail CLI requires that a compatible JUnit XML report is generated by your test automation framework.
Using the TestRail CLI in Travis CI builds
Automated processes can be configured in Travis CI using a .travis.yml file. The .travis.yml file describes the build process. These YAML files allow you to specify your build process in a structured manner. Under .travis.yml, you can specify a default build environment and a default set of phases for each programming language.
The easiest way to integrate TestRail with Travis CI is by configuring your .travis.yml to use the TestRail CLI to send automated test results to TestRail. Below is a sample of how a workflow file using the TestRail CLI to send test results to TestRail would look like.
dist: xenial
jobs:
  include:
    - stage: Run tests and upload results to TestRail
      language: python
      python: 3.9-dev
      addons:
        chrome: stable
      script:
        - mvn clean compile test
      after_script:
        - pip install trcli
        - trcli -y
           -h https://INSTANCE.testrail.io/
           --project "PROJECT NAME"
           -u USER_EMAIL
           -p PASSWORD
           parse_junit
           --title "Automated Tests from Travis workflow"
           --run-description $TRAVIS_JOB_WEB_URL
           -f "./target/surefire-reports/TEST-TestSuite.xml"
A build in Travis CI is a sequence of stages. Each stage consists of a sequence of jobs. Each stage in Travis CI is executed in a single unit within a fresh container or a virtual machine.
Breaking down the .travis.yml, we notice some interesting facts.
-
- We have chosen the Xenial Build Environment for running this build.
- The build consists of a single job, responsible for running and uploading the test results to TestRail.
- We have two phases within the job. The first phase
scriptruns the tests, and the second phaseafter_scriptis used to install TestRail CLI and upload test results to TestRail.
As a whole, the job contain the following steps:
-
Set up environment for the test automation frameworkAdd Chrome browserRun the testsUpload the results to TestRail
Step 1: Set up environment for the test automation framework
In our job, we use the Xenial Build Environment, which has pre-installed Python version ‘3.8.13’, but in order to use the TestRail CLI, we need to install the updated version of Python. To do that, we include the ‘3.9.dev’ Python version using the python key in the language specification.
jobs:
 include:
   - stage: Run tests and upload results to TestRail
     language: python
     python: 3.9-dev
Step 2: Add Chrome browser
The Google Chrome addon allows Travis CI builds to install Google Chrome at runtime. You can install the stable or the beta version of Chrome.
addons:
  chrome: stable
Step 3: Run the tests
This phase is defined as script within the job. This phase is responsible for running the tests.
script:
  - mvn clean compile test
Step 4: Upload the results to TestRail
This phase is defined as after_script. This will do two different actions:
-
- Install the TestRail CLI.
- Call the TestRail CLI to upload the JUnit report generated by your test automation framework and send the results to TestRail.
The TestRail CLI is a Python package hosted on the Python Package Index (PyPI). To install it, we execute the command pip install trcli.
After the TestRail CLI is installed, there are a few mandatory arguments that we need to pass along with after_script command, such as your TestRail instance address and credentials, the project you want to report to, the title for your test run, and the path to the JUnit report.
For more information about arguments, please check the TestRail CLI documentation.
after_script:
  - pip install trcli
  - trcli -y
     -h https://INSTANCE.testrail.io/
     --project "PROJECT NAME"
     -u USER_EMAIL
     -p PASSWORD
     parse_junit
     --title "Automated Tests from Travis workflow"
     --run-description $TRAVIS_JOB_WEB_URL
     -f "./target/surefire-reports/TEST-TestSuite.xml"
Working example using TestNG and Selenium
TravisCI supports many version control tools like GitHub, GitLab, and Bitbucket, but in this article, we will consider the GitHub repository.
Below is an example that illustrates how to run selenium tests on Travis CI and then report the results to TestRail.
-
- Create a new repository on GitHub
- Download the files from the TestNG-Selenium sample project
- Replace TESTRAIL_INSTANCE, PROJECT NAME, USER_EMAIL, and PASSWORD in the
.travis.ymlfile using your details (we recommend not replacing the password directly and using the Travis CI environment variables instead). - Upload the project to your GitHub repository.
Executing the workflow
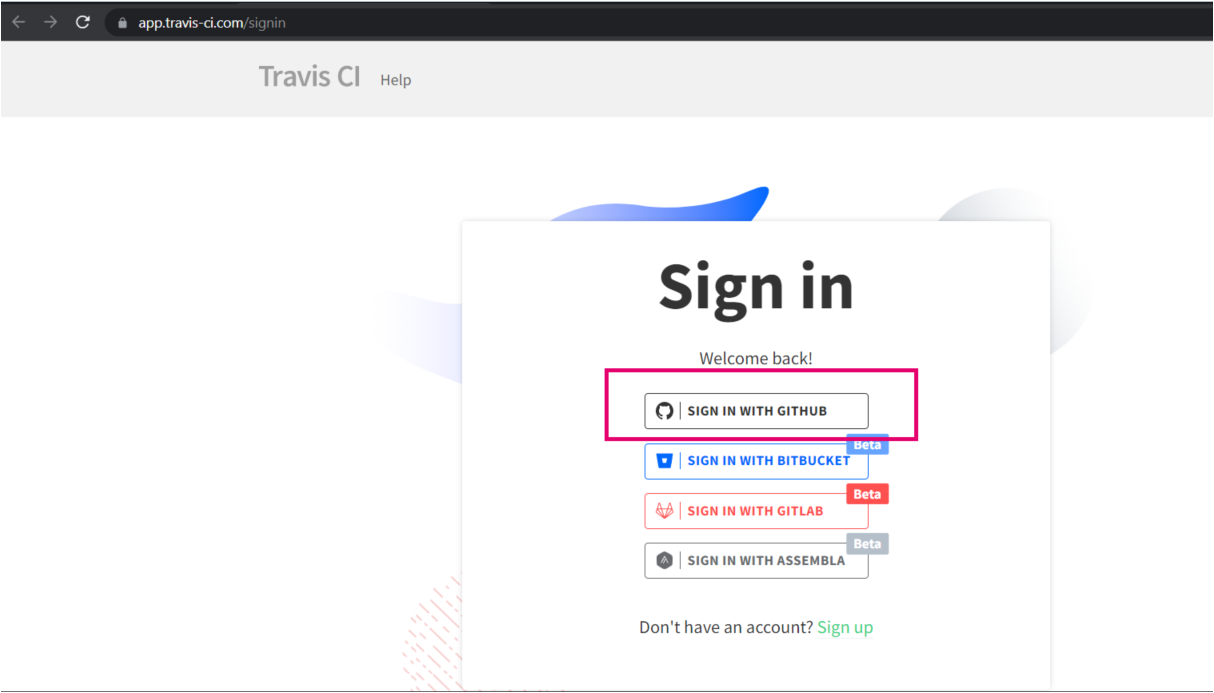
- Navigate to the Travis CI website and click the Sign In button.
- Sign in to Travis CI with GitHub credentials.
- On the Dashboard of Travis CI you can see all the Active repositories with an option to Trigger a build.
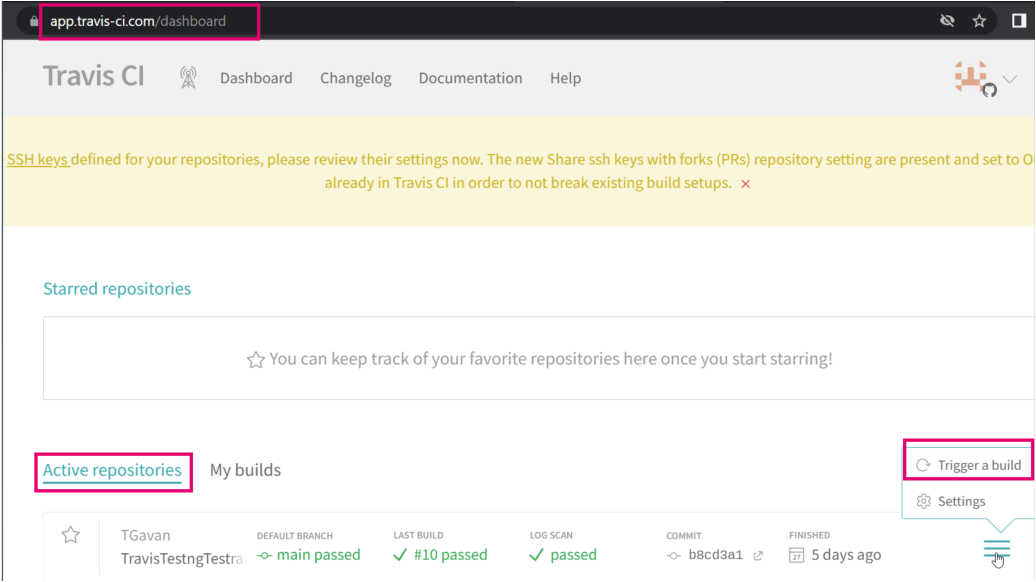
- Trigger a build for the TestNG-Selenium repository.
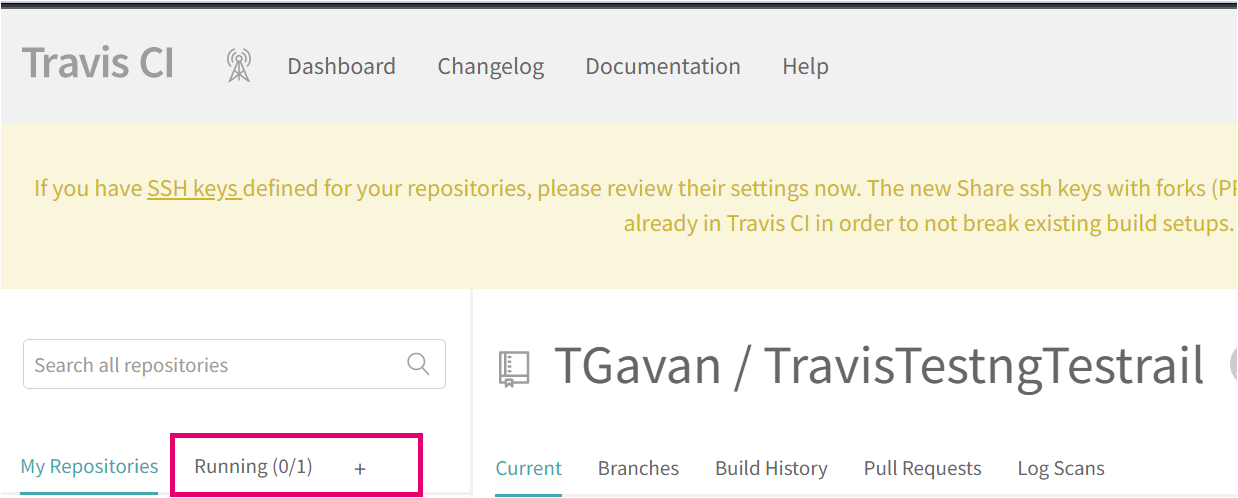
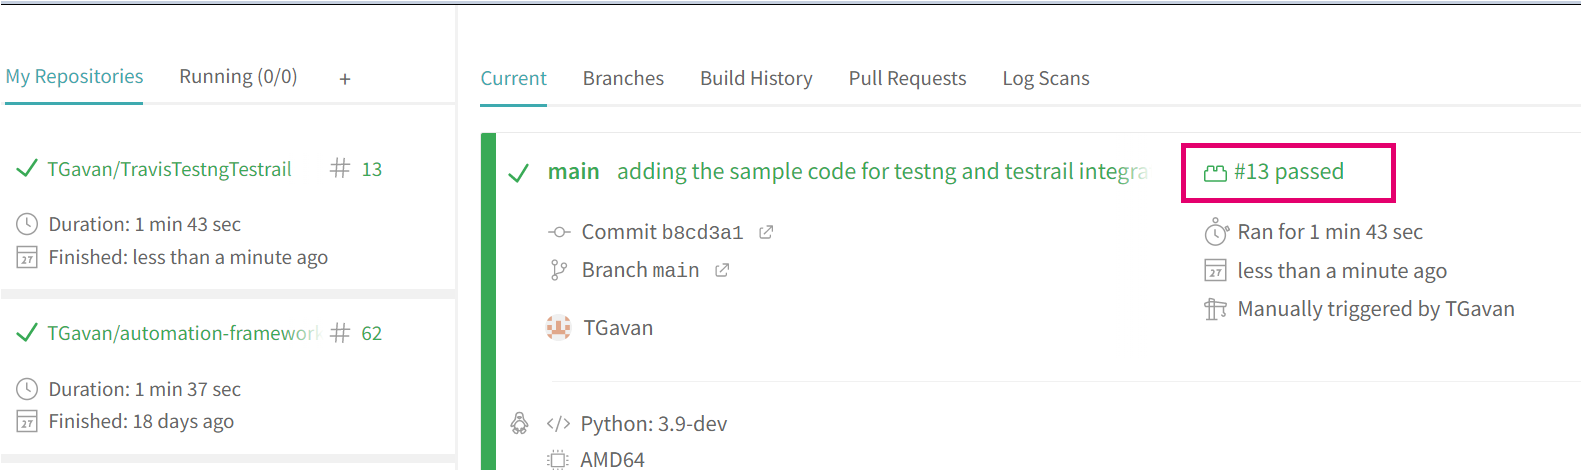
- Once the build is triggered, click on the repository link on the dashboard. Here, you can see the status of the build as Running.
- Once the build is completed, it will be indicated with green color as displayed in the screenshot below.
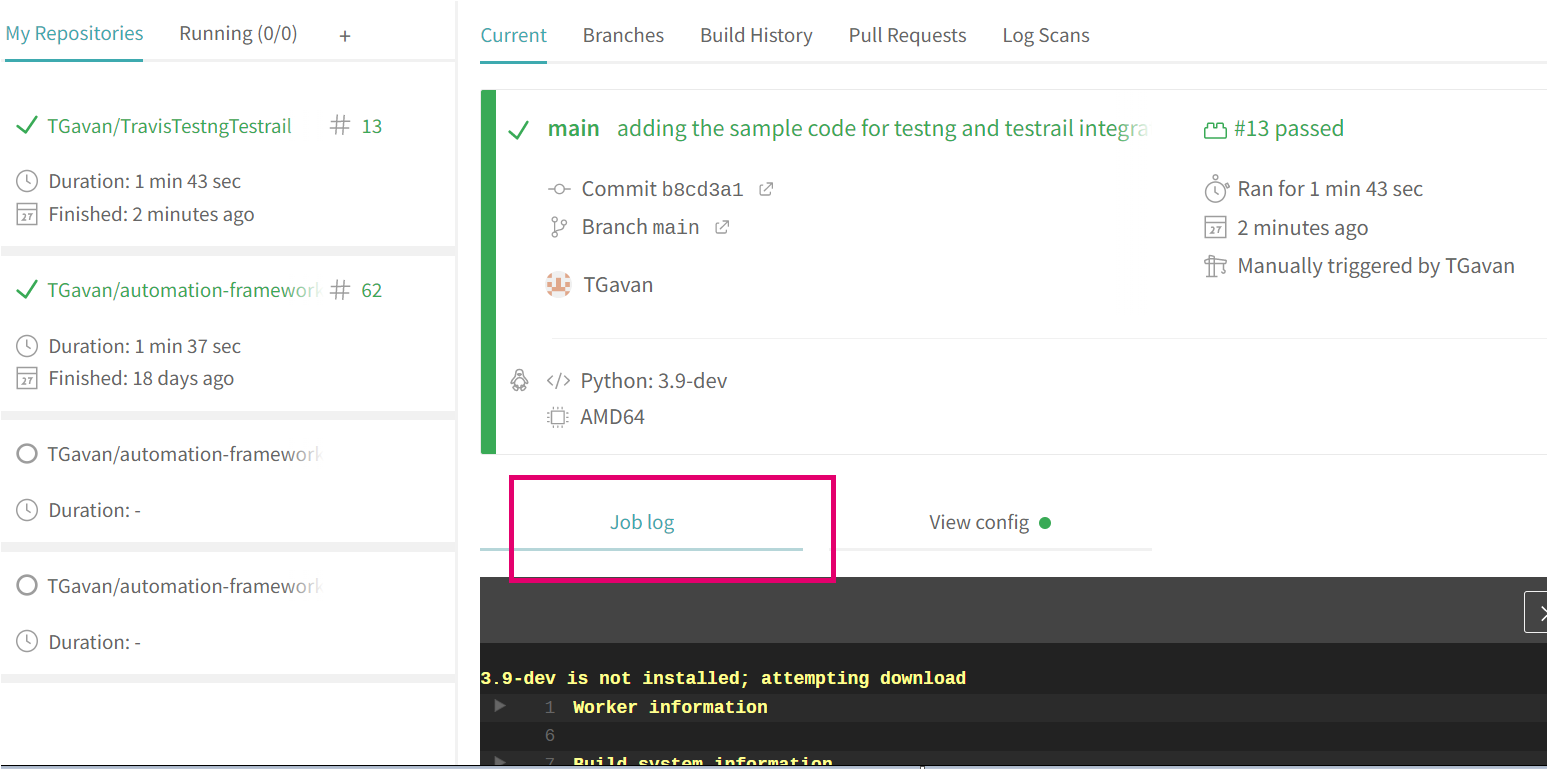
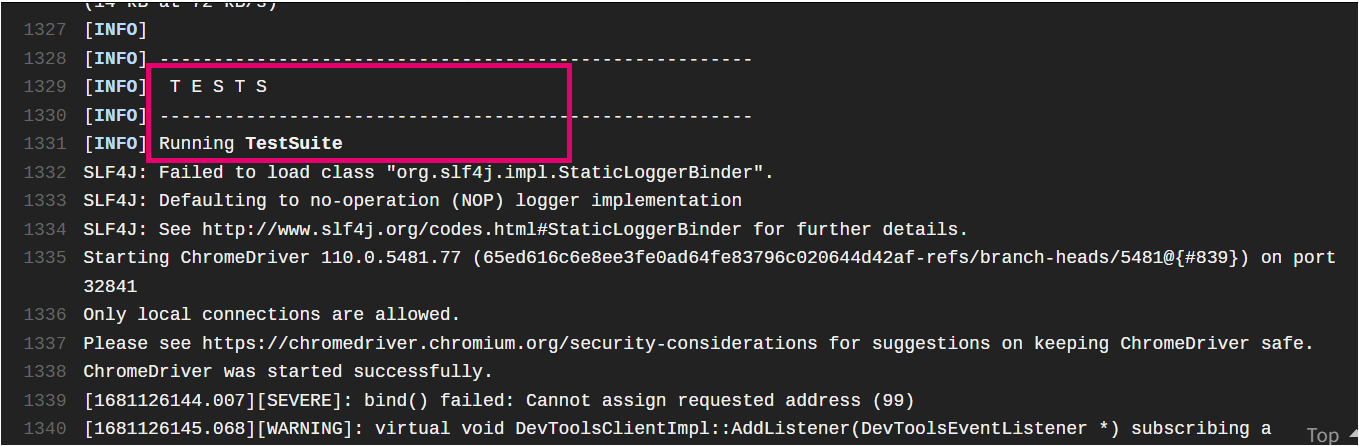
- In the Job log, you can see that the automated tests ran successfully and the test results were uploaded to TestRail.

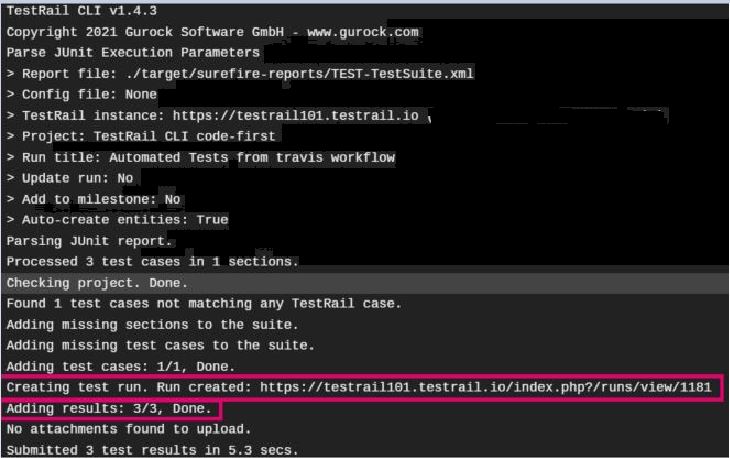
- Open your TestRail instance and see your Test Run results.

What next?
Now that you have centralized your test results on TestRail, not only can you check the results of your automated test runs, along with the error messages for failed tests, but you can also aggregate both your manual and automated testing efforts on reports that show you the full test coverage surrounding your app and even track test automation progress. You can also report a bug directly from the automated test result to an issue tracker of your preference as you would do for your manual test results!
You can look into the TestRail’s Reports and Test Metrics video to learn about how you can leverage TestRail’s reporting capabilities.